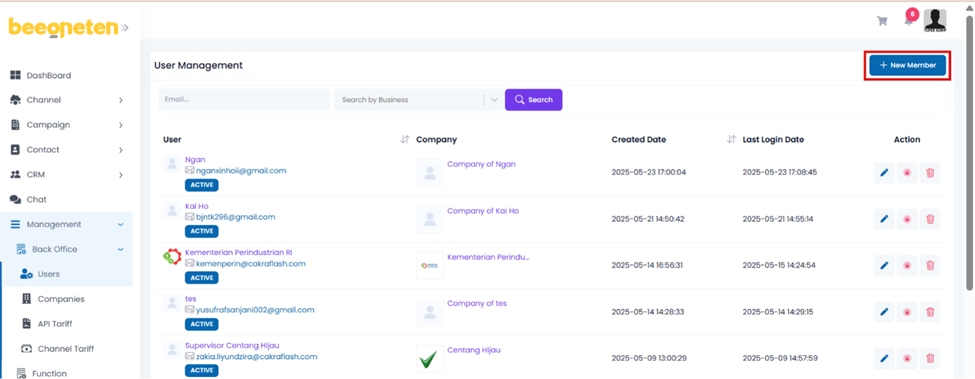
- Click on User management section on drop-down menu list
- Click on + New user button
- Input user name and password
- Set their permissions
- Tick on the boxes for the rights of each section which you want to assign to that user
- Check out the Type of Roles table below to better understand how to assign an account
- Tick on the boxes for the rights of each section which you want to assign to that user
Type of Roles:
| Role | Description |
| Owner | only manages the users/sections (example: Bot, Templates, Campaigns…) it creates Example: you create user A, you can view, edit and delete only materials of user A with this permission  |
| Partial | similar to Owner role and able to manage the users/sections it is granted/assigned Example: in the user management right, user A is entitled to READ as type Partial and is assigned to manage users B, C in that right. Hence, on the user management list page, user A will be able to see users B and C in addition to the users created by user A.  |
| Full | able to manage all users/sections in a company Example, users A, B, C in company P, when you have FULL permission, you will see all these users and full control over them.  |
- Click on Submit button when done
- User will receive a Welcome email sent to the email address used to register
- Open that email address and click on button Confirm your email address to start using Beeoneten
- Click + Add user to add multiple users with the same permission at the same time
Note:
- As mentioned in 1. Register, the admin account will be the first account established and registered with company information.
- Other users will have permissions below or equal to the first user (admin).
- Admin can assign the authority of each user according to the scope of work based on the Type of roles specified above.